How To Trim Your Dog’s Nails Safely Without Stress

Tips to make nail cutting stress-free for your dog
Nobody like a nail cutting session with the critters – not you, and definitely not your dog. However, overly long nails can lead to discomfort and paw pains for your furry friend, so here’s how to get through this nerve-wracking grooming session with little to no pain and distress for both you and your dog!
Get Professional Advice
First and foremost, if you are not a skilled vet or pet groomer yourself, you should always consult a professional on what the proper method of trimming your dog’s nails is, and what the optimal nail length should be.
This is to prevent cutting the nail too short, which can result in bleeding and a terrified dog. Moreover, your vet will advise you on the constitution of your dog’s nails so that you can better understand how exactly you should go about trimming his/her nails!

Source: Dogs.TheFunTimesGuide.com
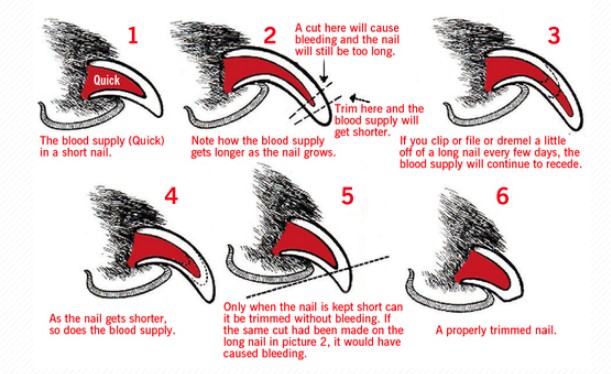
For example, a dog’s nail actually consists of the nail itself and the quick, which is a pink part that is rich in blood vessels and nerves. Just like how cutting our nail bed leads to bleeding, so will cutting the quick of your dog’s nails.
Snip The Nails Off Slowly, Bit By Bit
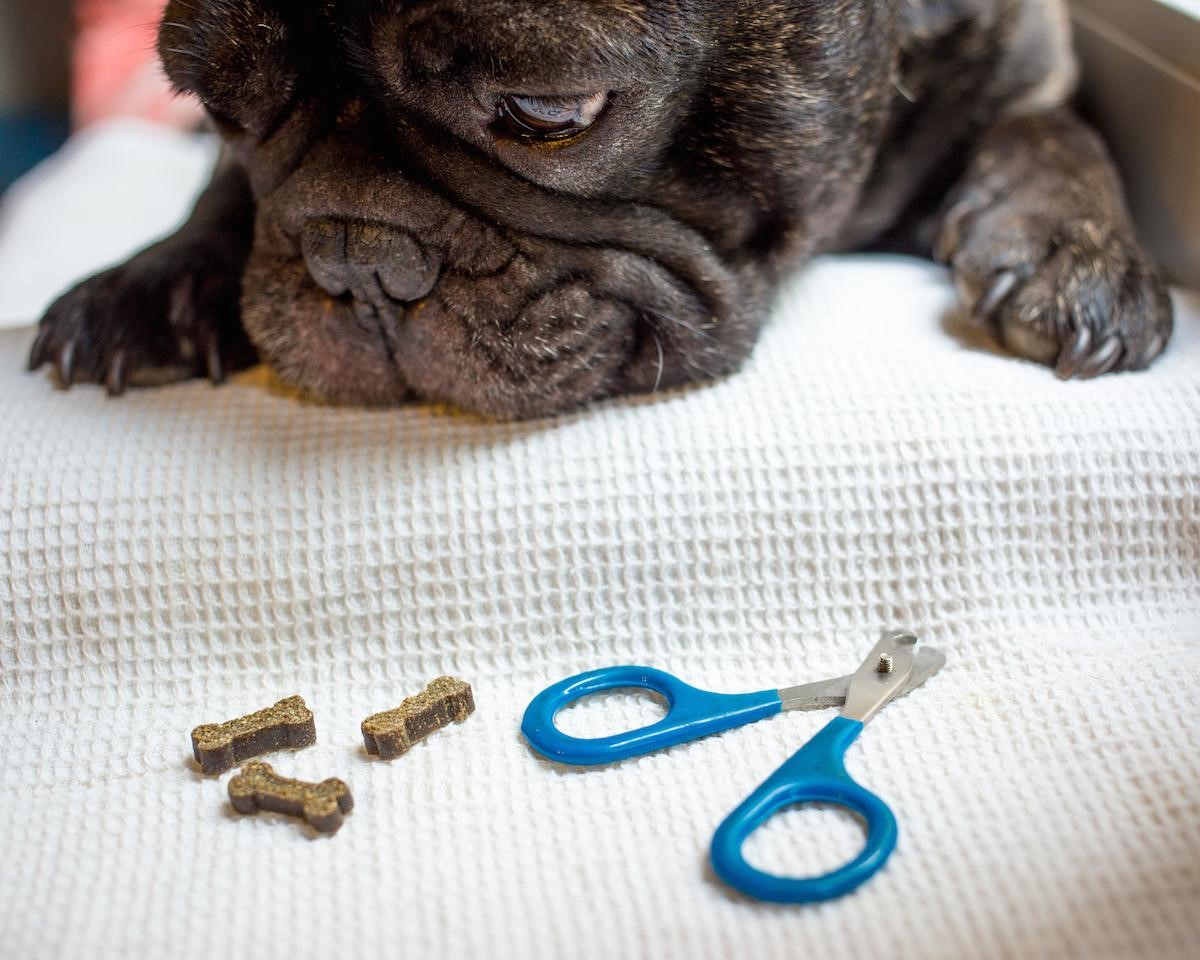
A vet or pet groomer would most likely tell you that the trick to successfully trimming your dog’s nails without any injury is to go slow. Keep yourself and your dog as relaxed and composed as possible so that he/she knows there’s nothing to worry about, and have lots of treats ready at hand to reward him/her whenever a nail is successfully trimmed!
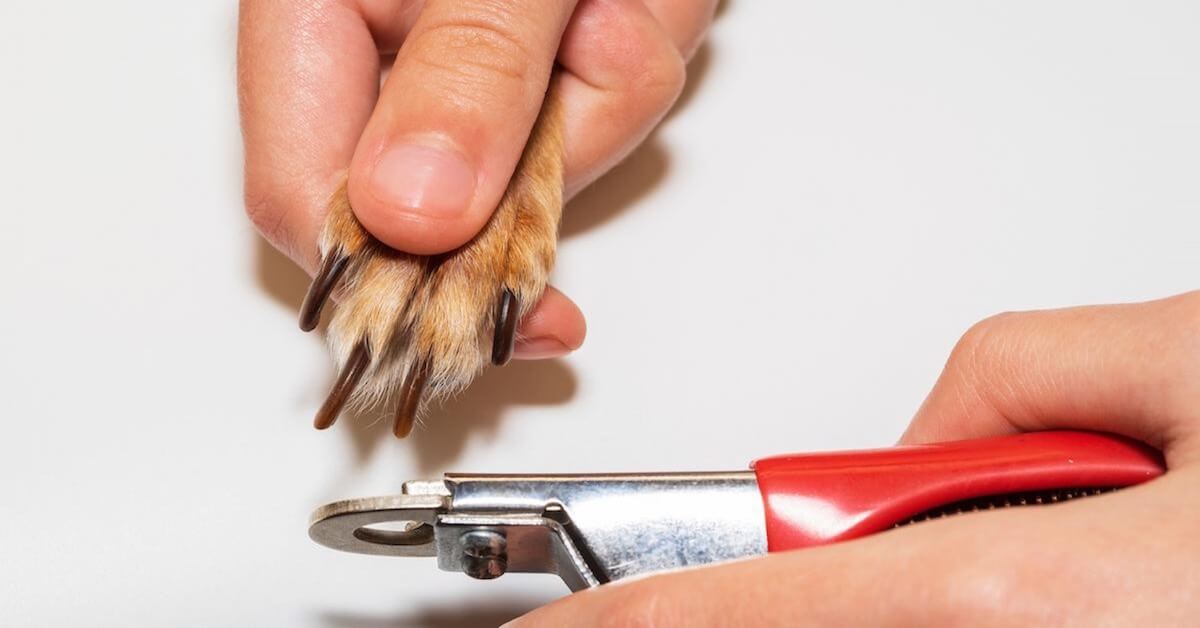
Next, hold your dog’s foot gently but steadily and begin trimming its nails with a clipper or a nail grinder slowly. Make sure to only trim about 1-2mm at a time, and keep an eye out for a pink, white, or tan-coloured oval in the middle of the nail! Once that oval appears, it’s time to stop – you’re nearing the quick.
Always make sure to have styptic powder at hand too in case you accidentally nip the quick. Styptic powder helps to stop minor bleeding, and you can use a cotton swab to powder it around the base of your pet’s nail where the bleeding is at.

Don’t be too discouraged after cutting your dog’s quick – it’s highly unlikely for a dog to bleed to death in a situation like this, but do note that your dog will remember this painful experience for a long time to come!
As a result, following nail trimming sessions might become trickier due to a struggling or wary pup, but not to worry – all you have to do is to gently reintroduce the nail clipper to your pooch’s paw again, with many treats, praises, and patience. It may take a minimum of at least 2-3 weeks of constant exposure to the nail cutter – without actual cutting – for your dog to become comfortable with the equipment again.
Location Matters
To make things easier, trim your dog’s nails in a brightly-lit area so that you can clearly see the nails and avoid cutting your dog’s blood vessels. Preferably, choose a quiet area too because dogs are sensitive to sound waves and might get agitated in a noisy environment, rendering your trimming of his/her nails even more challenging.
Trimming your dog’s nails is not the most fun shared activity with your dog friend, yet it is essential to ensure his/her health. Try your best to create a routine and positive nail cutting experience since young and you and your dog will be able to overcome this grooming hurdle with relative ease!


